Ironsand Maps & Locations
How every Ironsand map plays, what the objective is, and how randomization changes the route.
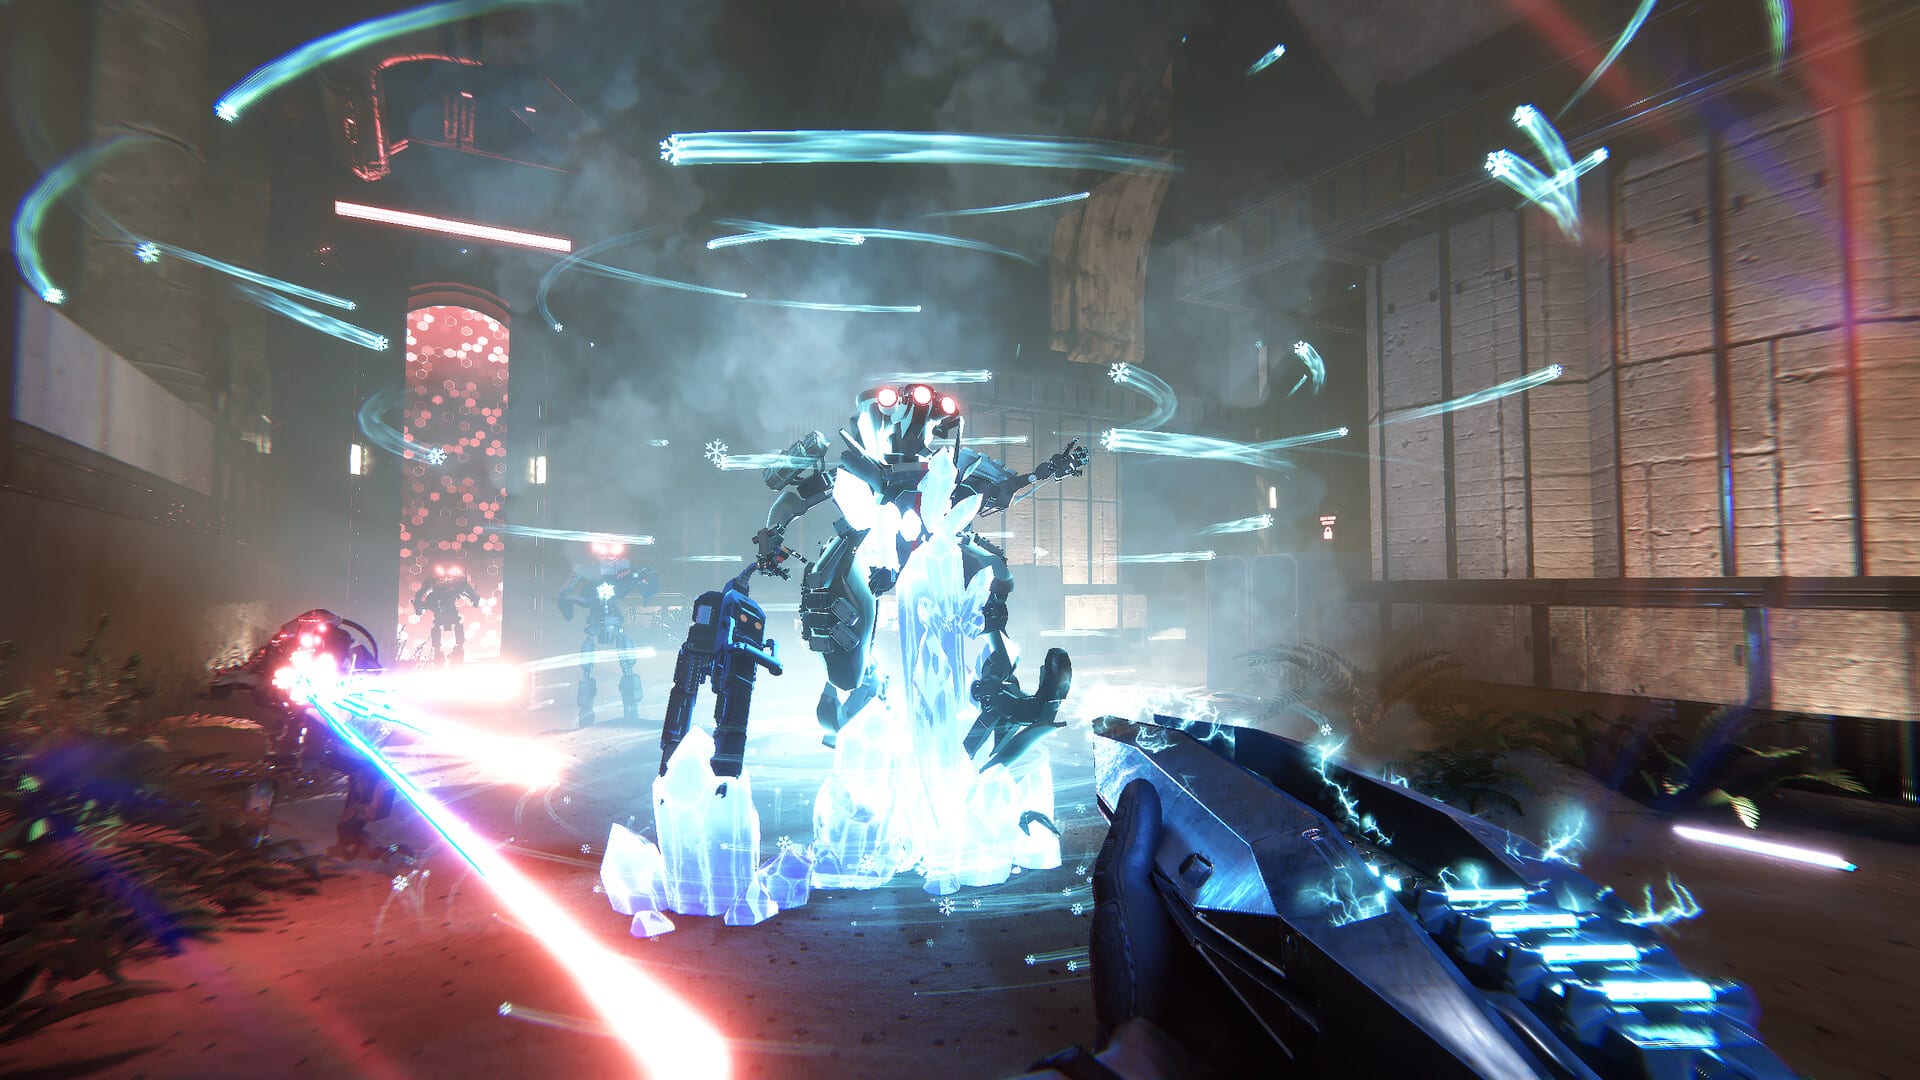
Ironsand currently ships three unique maps. Renderise designed them so missions do not all feel like the same desert push. Some levels ask you to advance and clear territory. Others force you to hold a position under endless waves. The third map is a dark, maze-like facility where radiation and lava punish sloppy movement. This guide explains how each location works, what enemies you should expect, and how map randomization stops you from memorizing a single path to the Titan.
If you are brand new, pair this page with the Getting Started Guide. For the boss waiting at the end of each map, jump to the Titan Boss Guide. Squad roles that shine on specific maps are covered in the Classes Hub and the Co-op Guide.
How maps work in Ironsand
Each map is a self-contained operation with a limited number of attempts. Your squad lands, fights through Cult of the Iron God forces, collects weapons, and eventually faces a Mech Titan unique to that location. After a wipe, the layout partially changes. Corridors shift, cover moves, and the exact path to the Titan is not guaranteed. Treat every attempt as a fresh recon pass, not a speedrun of a memorized route.
Destructible buildings, bridges, and beams are part of the layout. Rockets can collapse a wall you were using as cover, or drop a structure onto a cluster of cyborgs. Use that chaos on purpose. Random demolition in a tight Arena chokepoint can wipe your own team just as easily.
Map 1: The Forward Push
The first operation is a classic advance through desert ruins and scattered structures. Your job is to move forward, clear drones and beetles, pick up weapons, and reach the Titan at the far end. Cover is plentiful at the start and thinner as the map opens up.
What to expect
- Open sightlines mixed with ruined buildings
- Standard combat drones, cyborgs, and alien beetles (including Arakh-style bugs referenced by the Arakh Exterminator achievement)
- A Titan with turret sweeps, missile barrages, and a charging slam
How to play it Keep the squad in a staggered line rather than a single clump. The Engineer should plant turrets on high ground or at the last doorway before a plaza so they keep firing while you rotate. Medics stay one building behind the Berserker, not in the open. When missiles start painting player positions, break line of sight instead of tanking.
This map teaches the core loop: clear, loot, upgrade between attempts, then commit to the Titan. If you only have time for one location in the Steam demo, start here.
Map 2: The Arena
The Arena is not another forward push. You defend a position while a massive cannon charges. Waves try to interrupt that charge. Standing still is the point, which means enemy density is higher and add control matters more than exploration.
What to expect
- A hold-the-point objective instead of a linear route
- Pulse attacks that shove you off the cannon
- Heavy artillery in repeating patterns
- Relentless mixed waves alongside the Titan
How to play it The Defender is the star. Energy shields buy the cannon the seconds it needs. Engineers should cover chokepoints, not the middle of the pad. Medics heal on a rhythm: pulse, artillery, then a short window to top people off. Berserkers save burst for the Titan’s reload, not for random beetles at the edge of the map.
If the squad splits to chase loot, the cannon dies. Assign one player as the “pad owner” who never leaves the circle unless a wipe is already happening.
Map 3: The Depths
The third map is the darkest and most dangerous operation Renderise has shown. Maze-like corridors, molten lava lighting the chambers, and elevated radiation that spawned radioactive mutants. Every corner can hide a new threat. The Titan at the end carries a full heavy-weapon kit and leaves almost no error margin.
What to expect
- Tight corridors and poor visibility
- Lava as a hard barrier and an environmental weapon
- Radioactive mutants that punish clustering
- A heavy Titan with overlapping artillery, turrets, and add support
How to play it Do not sprint blindly. Clear rooms, then move. Funnel enemies into Engineer turret lines. The Medic is almost mandatory for a clean clear because sustained chip damage never stops. Use lava as a kill zone if you can bait mutants into it, but never fight with your back to a drop. For Titan tactics specific to this map, read the Depths section in the Titan Boss Guide.
The achievement Spider Protocol: Shutdown strongly suggests at least one Titan uses a spider-like chassis. Treat glowing joints and weapon pods as priority break points when you see them.
Long-Eared allies on every map
Rescued Long-Eared inhabitants can join raids. They are not a fifth class, but they add extra guns and can save a wipe at a critical moment. If you see a rescue prompt, clear the room first, then extract them. Leaving them in a lava corridor or an Arena choke wastes the help they could give during the Titan.
Randomization and attempts
After each death the map partially reshuffles. That is why “remember the hallway on the left” fails after a wipe. Use attempts to learn patterns, not GPS routes: where missile volleys land, which rooms spawn beetles, how long the Arena cannon takes to charge. Between attempts, pick upgrades that match the map you are actually on. Arena wants sustain and shields. Depths wants mobility and healing. The Forward Push wants mixed range weapons. See the Best Builds Guide and the Weapons Guide before you lock a loadout.
Recommended order
- Learn movement and classes on Map 1.
- Practice hold-out synergy on the Arena with a full four-stack if you can.
- Only then commit evenings to the Depths.
Stay current with layout or spawn changes on the Patch Notes page. Early Access can still add rooms, enemies, or a fourth operation.
Frequently Asked Questions
Quick answers to the most common questions.
How many maps are in Ironsand?
Early Access launched with three maps: a forward desert push, a defensive Arena where a cannon charges, and the Depths, a dark maze with lava and radioactive mutants. Each map ends with a unique Titan.
Does the map stay the same after I die?
No. After each death the layout partially changes, so you cannot rely on a single memorized path to the Titan. Learn attack patterns and room types instead of exact routes.
Which map is the hardest?
The Depths is the hardest. Tight corridors, lava, radioactive mutants, and a heavy-weapon Titan leave little room for error. Bring a Medic and play slowly.
Can I play the maps in the demo?
The free Steam demo includes three levels with unique Mech Titans, four classes, and 14 weapon types. Demo progress does not carry into the full Early Access game.